How to Make a Tag Book
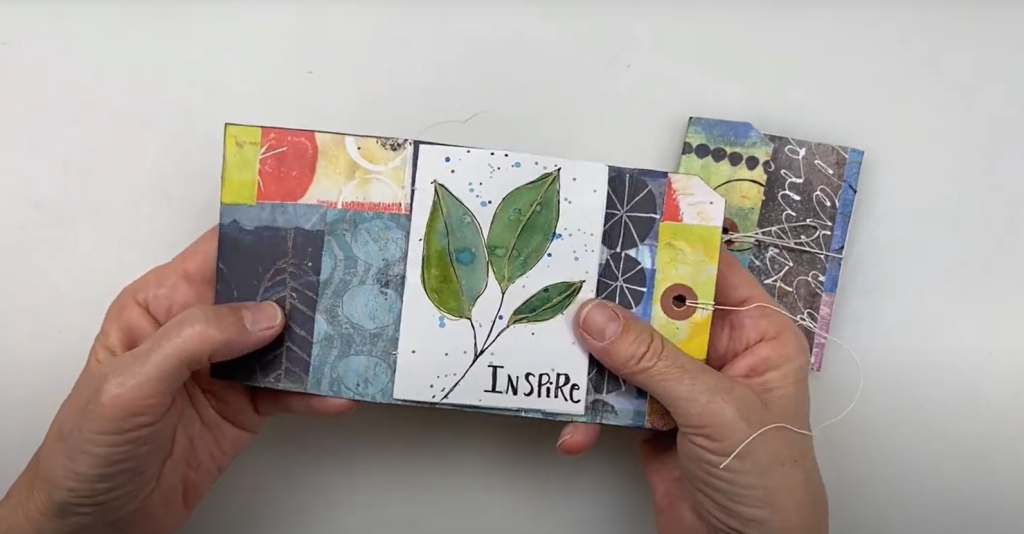
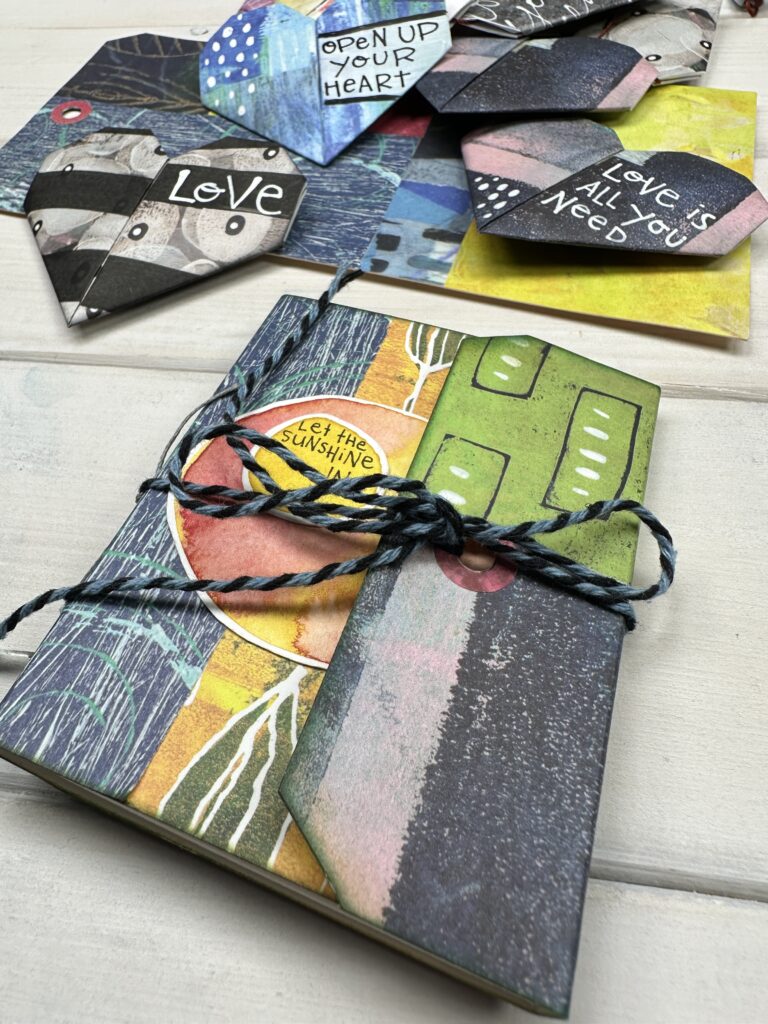
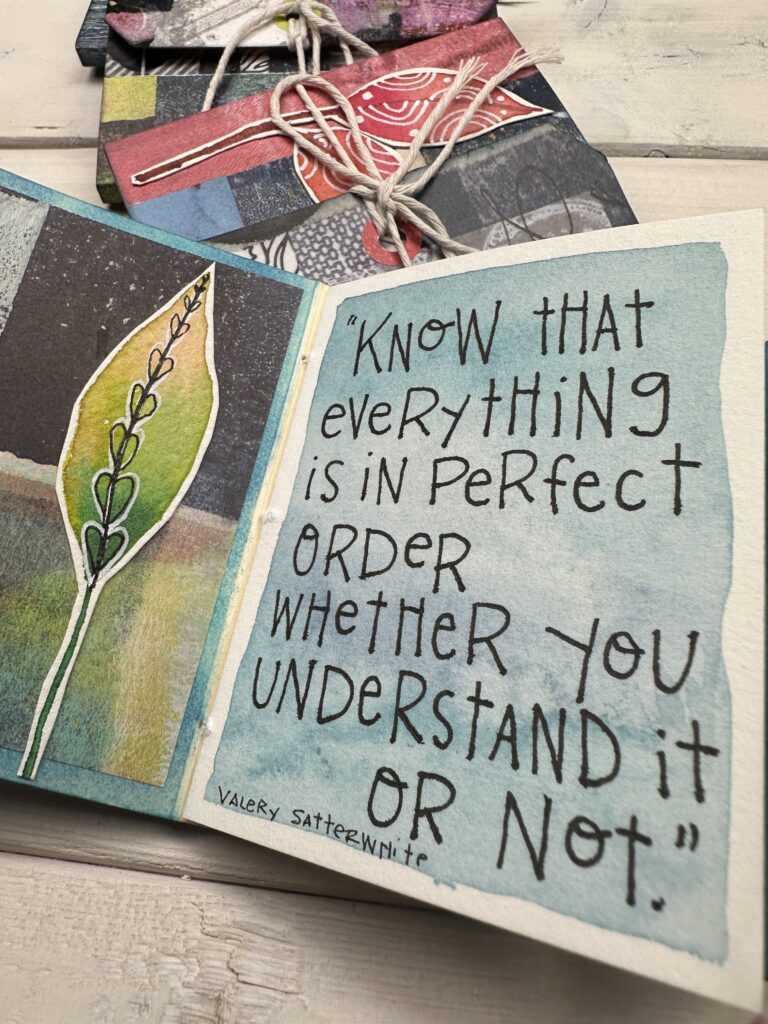
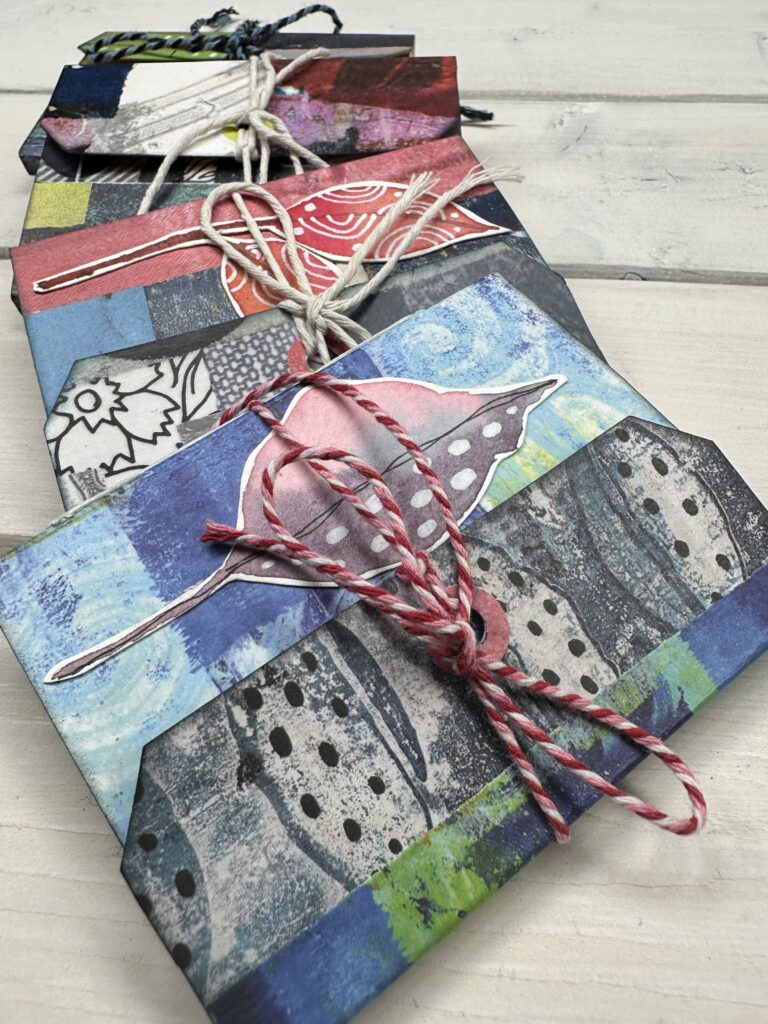
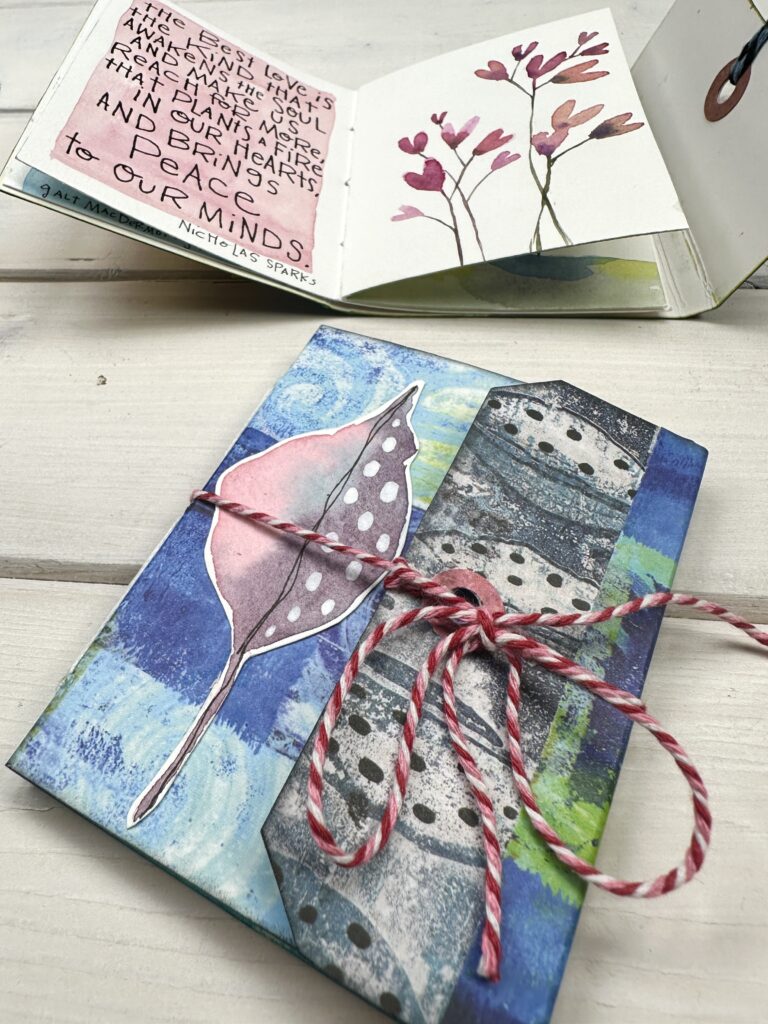
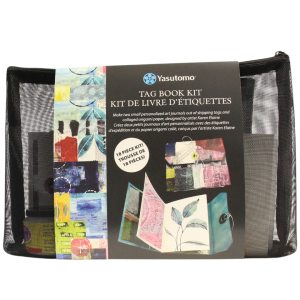
Make small personalized tag books with our new Tag Book Kit designed by Yasutomo Creative Consultant Karen Elaine! This kit includes materials to make two Tag Books.
Full video instructions:
Kit contains:
- 2 large tags (4″ x 8″)
- 4 sheets of sulphite paper
- 8 sheets of origami paper for collage (different designs included in each kit!)
- 1 needle
- Waxed thread
- 1 jar of Nori paste
- 1 bamboo scoring tool
Additional supplies needed:
- Scissors
- Ruler
- Mat
- Pencil
Step 1
Remove reinforcement hole cover and set aside.
Step 2
Tear the origami paper into smaller pieces.
Step 3
Glue the pieces of paper on the tag with Nori paste. Cover the entire tag surface with the paper.
Step 4
Trim the excess paper with scissors.
Step 5
Pierce a hole through the reinforcement hole.
Step 6
Glue the reinforcement over the hole using Nori paste. Let the tag dry under something flat.
Step 7
Mark lines at these increments with a pencil and score with the bamboo folding tool.
Step 8
Fold along score lines.
Step 9
Fold the two sheets of sulphite paper in half; this is a “signature.”
Step 10
Mark three holes in the center crease with a pencil.
Step 11
Carefully punch three holes through the papers with a needle.
Step 12
Punch three holes through the tag with the needle using the paper as a template.
Step 13
Thread the needle with 18″ of the white string. Stitch the “signature” and the cover together, leaving a 3″ tail from the center hole.
Step 14
Tie off the thread and cut off the excess.
Step 15
Use the remaining string to wrap around and secure the cover.
Step 16
Your tag book is ready to fill with creativity!