
No products in the cart.
The Silverpoint and Mineral Paper Board Kit (MPC-KIT) contains everything you need to get started with this classical artform.
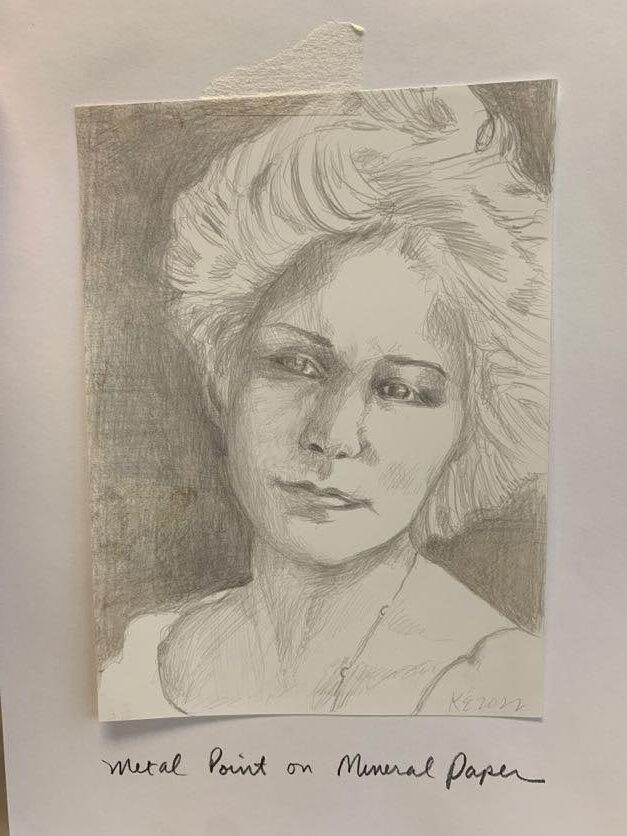
Silverpoint is a type of metalpoint used by artists and craftsmen since ancient times. The softness of the metal makes them effective drawing instruments which allows for detailed, meticulous drawings. Because Mineral Paper is made mostly of calcium carbonate, it is an excellent surface for silverpoint drawings.
Kit contains:
- 2mm Silverpoint Stylus (MPC-SP2)
- 1mm Silverpoint refill tip (MPRC-SP1)
- Mineral Paper board 5″ x 7″
- 5 sheets Mineral Paper
- Instruction sheet
The 2mm Silverpoint Stylus has a 99% silver point measuring 9mm long, 2mm wide. The tip is beveled to allow for different drawing techniques and line thicknesses. The stylus has a black 5 1/2″ long wooden handle with an elegant bamboo shape for a comfortable grip.
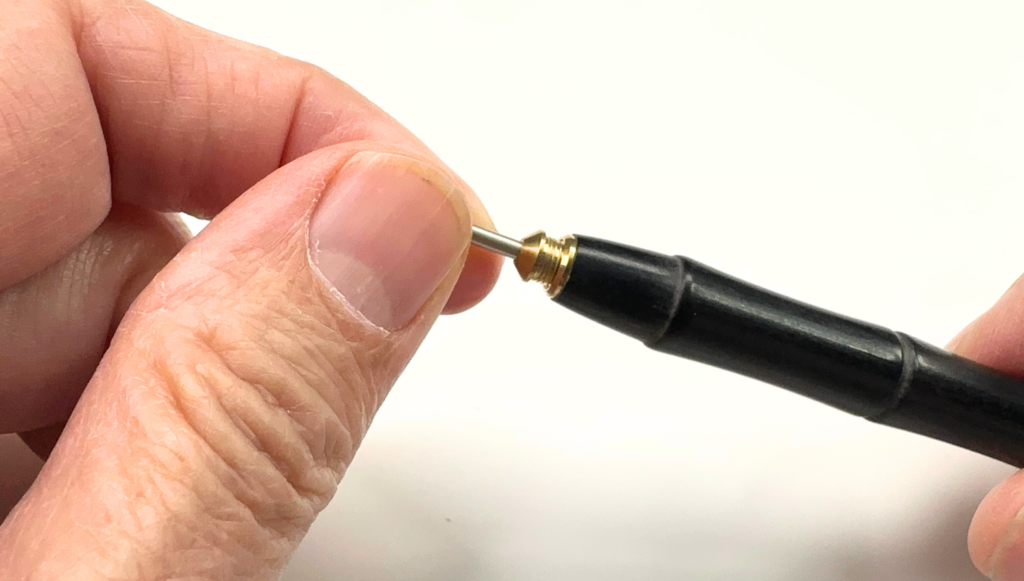
The 1mm Silverpoint refill tip is a replacement silverpoint tip in a finer size. You can switch out your stylus’ tip anytime you like by simply unscrewing it and replacing it with the other size!
The Mineral Paper board 5″ x 7″ is a special item only available in our Silverpoint & Mineral Paper Board Kit. A sheet of 140gsm Mineral Paper is mounted to a hard backing to give you a solid drawing surface for a beautifully finished drawing that you can display proudly or gift to someone special.
Five sheets of 140gsm Mineral Paper measuring 5″ x 7″ are included in this kit to give you practice sheets, or these can even be used to create finished drawings on their own. Once you’ve used these sheets up, pick up our other Mineral Paper pads so that you can continue drawing.
How to Use Your Silverpoint & Mineral Paper Board Kit
Step 1
Preparation of the tool
The silverpoint tip may have sharp edges that can be sanded with 300 grit or higher sandpaper for a smoother drawing experience.

Step 2
Surface Preparation
Mineral Paper does not need to be prepared, however you can prepare other surfaces with gesso or silverpoint ground. To prepare a gesso surface, first apply an even coat of gesso to your desired surface. Allow to dry completely. Once dried, use your silverpoint tool directly on the gesso to start drawing.

Step 3
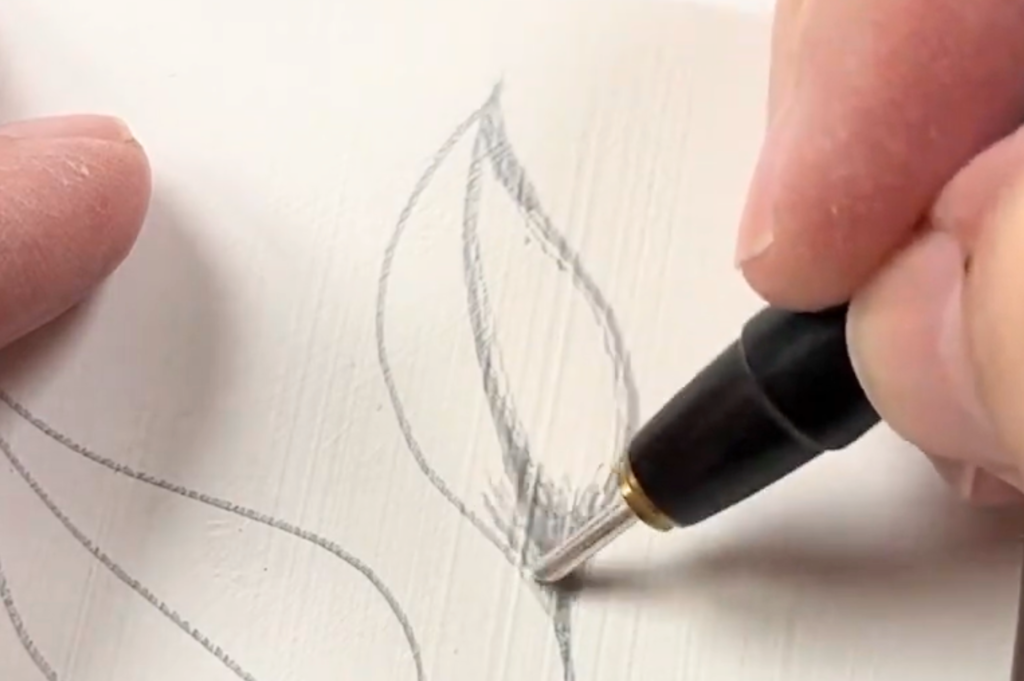
Drawing
When drawing on mineral paper with the silverpoint tool, be sure the surface underneath is firm. Pressing too hard will dent the surface. Place on a hard, smooth surface for best results.

Step 4
Practice line work, drawing, shading, layering and erasing on the loose sheets. Draw lightly on a hard surface to prevent bending of the tip.

Step 5
Create fine lines with the pointed edge of the tip and shade with the flat edge of the tip.


Step 6
To make an area darker, draw or shade with light strokes over the previous layers. Go over marks repeatedly until the desired depth of darkness is achieved. Pressing harder on the substrate will not result in a darker line but may instead warp your substrate or even bend or damage your silverpoint drawing tool.


Step 7
To create highlights, use an eraser to lift silver from the surface. An electric eraser works very well.

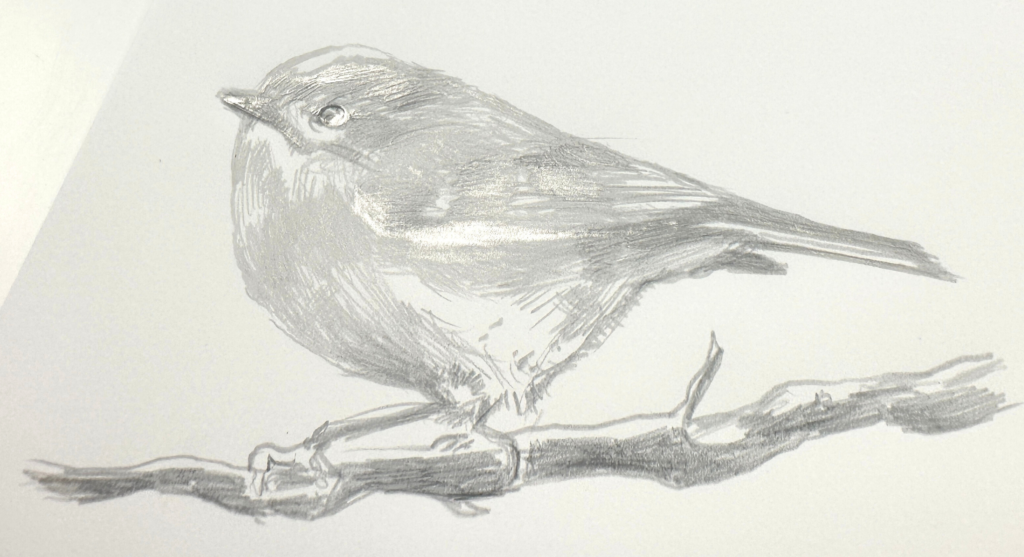
Step 8
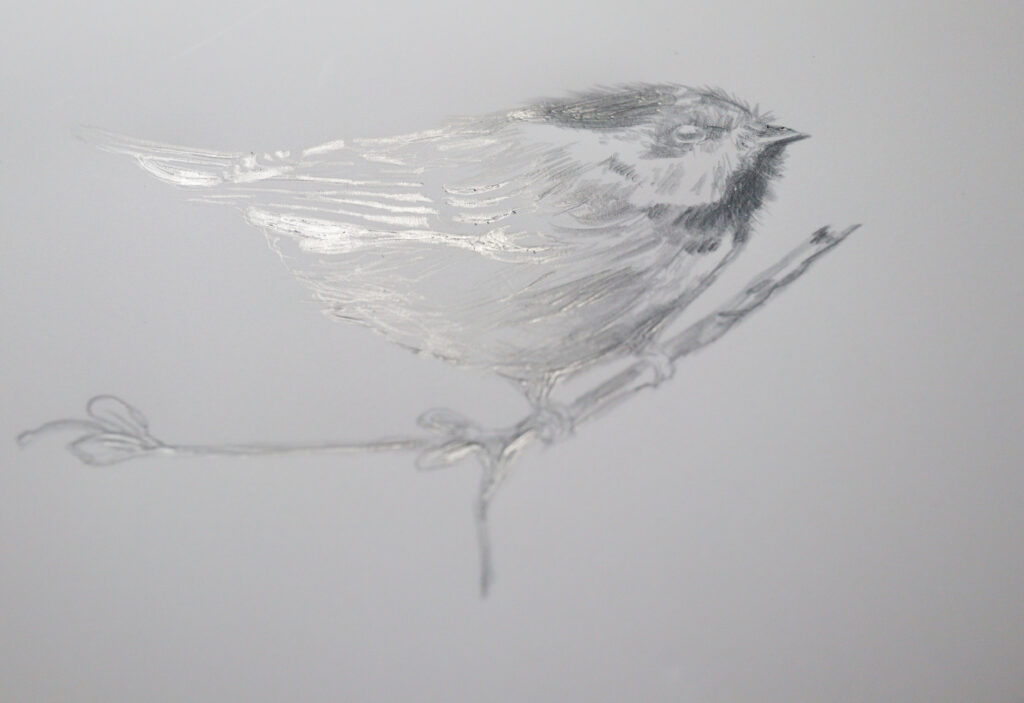
Marks are made with 99% silver and catch the light beautifully. Silverpoint drawings will change color over time from silver gray to a rich, warm tone.
Step 9
Replacing tips
To replace your silverpoint tips, simply unscrew the old point from the handle and replace with a new one.
More videos
Visit the Yasutomo YouTube channel for more tutorials, demos, and product reviews!